Showing posts with label living. Show all posts

Monday, 16 June 2014

Recipe: Blueberry Swirl Cheesecake Bars

Me and baking have an on/off relationship. I still remember all of my first attempts at baking and they all turned out horrendous. I even managed to mess up a premade banoffee pie that I basically just had to assemble! These days, things turn out a lot better, but it's still a rare occurrence that I bake something, as I tend to make the biggest mess in the kitchen whenever I give it a go. However, this cheesecake was worth all of the flour behind the counters and the spilt milk and broken eggs. When my friend said she wanted to take this cake to Vegas and marry it I knew I was on to a winner. The recipe was taken from the June issue of BBC Easy Cook magazine. If you don't like blueberries, feel free to substitute other fruit such as strawberries, raspberries, gooseberries or even pineapple!

For 10-14 bars (depending on the size of your cake tin) you will need:


  • 300g digestives
  • 140g melted butter
  • 275g caster sugar
  • 100g blueberries (or other fruit of your choice)
  • 1tsp cornflour
  • 900g full-fat soft cheese
  • 4 tbsp plain flour
  • 2 tsp vanilla extract
  • 3 large eggs
  • 200ml sour cream

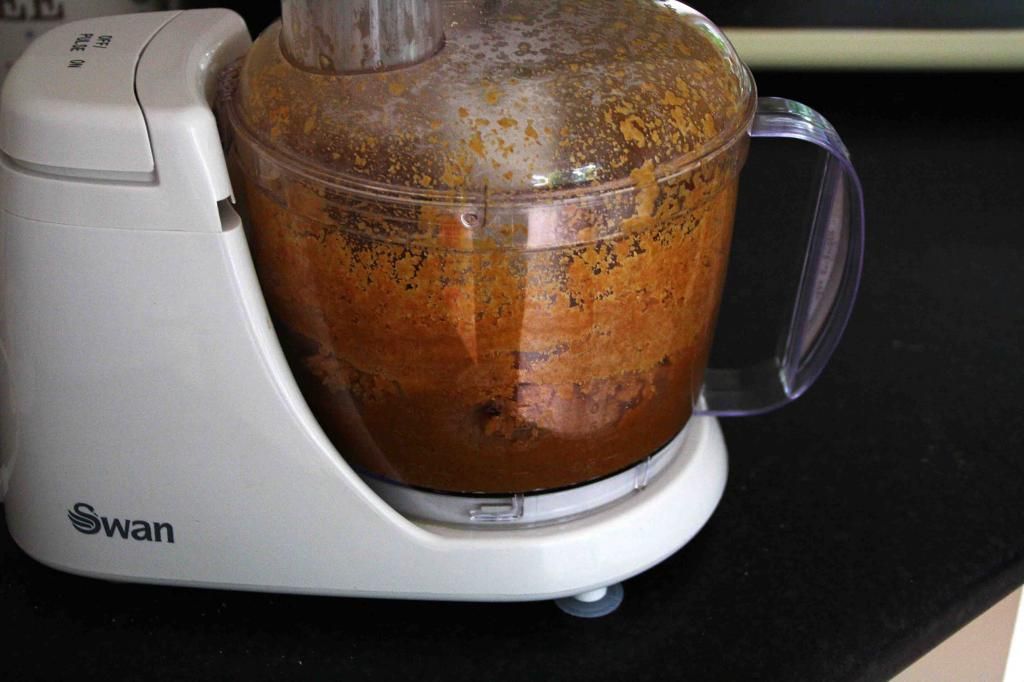
Throw the biscuits into a food processor until they turn into fine crumbs, then pour in the melted butter and whizz until it becomes a sticky mixture. Alternatively, if you don't have a food processor, you can bash the biscuits in a freezer bag with a rolling pin and mix with the butter by hand in a bowl.
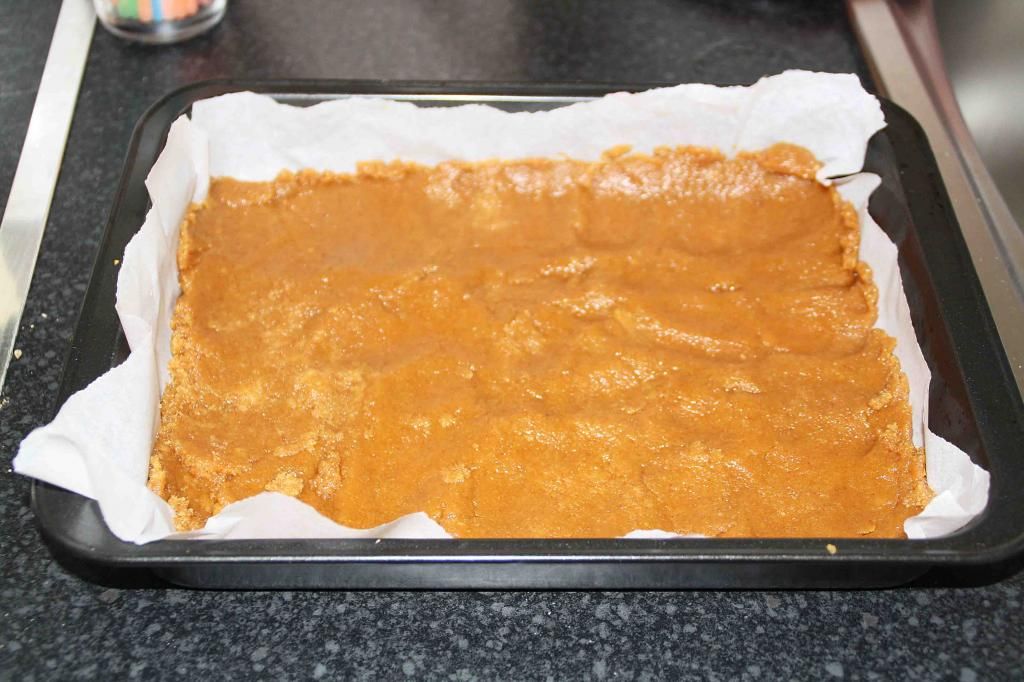

Line a deep baking tray with parchment and then spread the biscuit mixture over to form an even base. Press it down with a spatula or the back of a spoon and try to get it as even as you can. I tore off some of the baking paper in order to be able to take better pictures, but you may want to leave some overhang, as it will make it a lot easier to lift the cake out of the tray. Bake for 10 minutes at 180C fan/ 200C conventional/ gas 6.
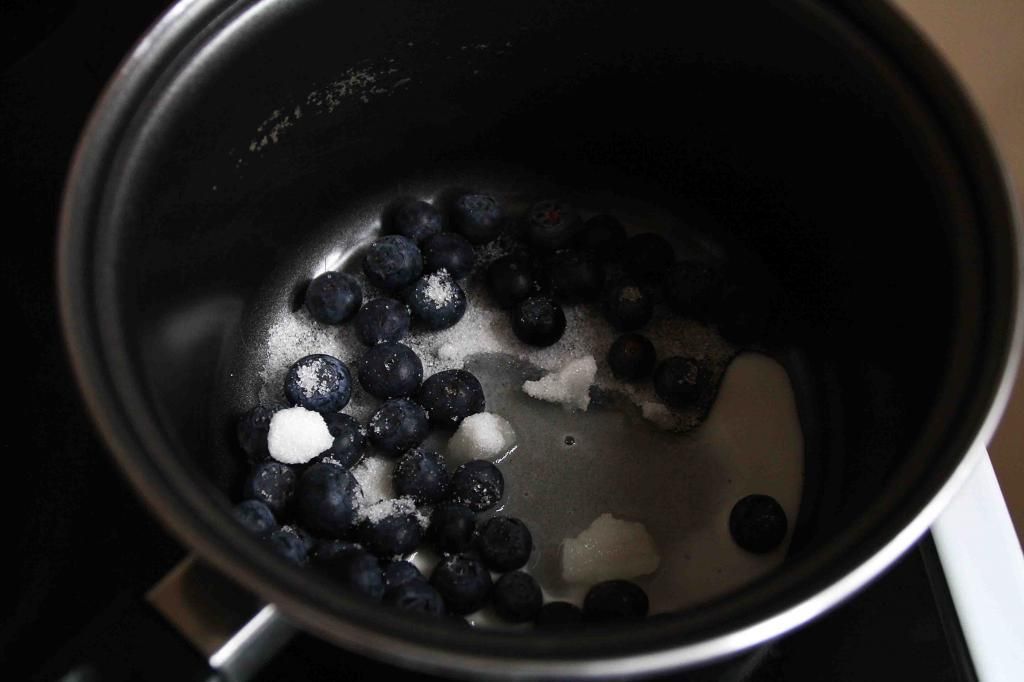

Meanwhile, we can crack on with our blueberry sauce. Mix the cornflour with a little bit of water, then add to a saucepan with the berries and 25g of the sugar.
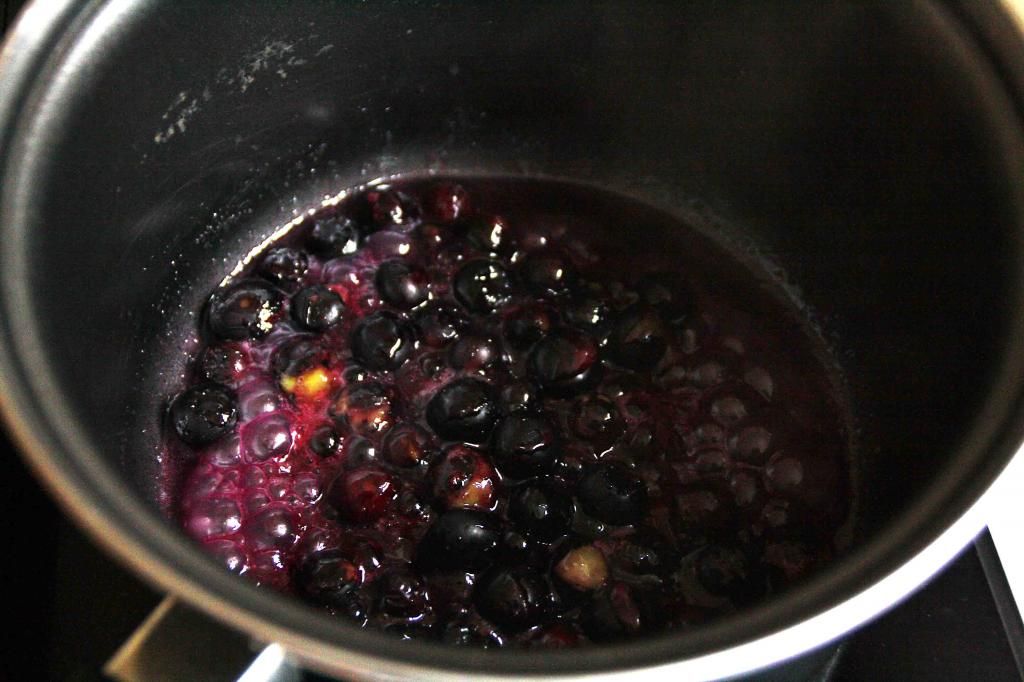

Heat up and let the mixture bubble while stirring constantly until the berries crack open and release their juice and the sauce becomes thick and syrupy. Then remove from the heat.
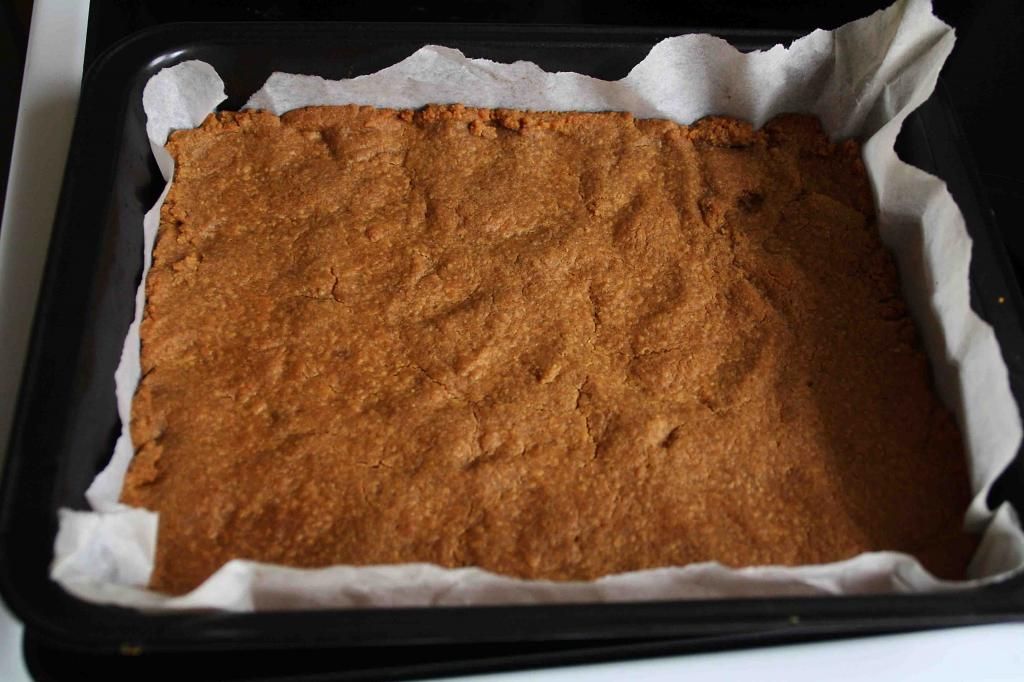

By now your base should be ready, so lift out the golden crispy deliciousness. Let the base and the blueberry sauce cool off completely before you continue.
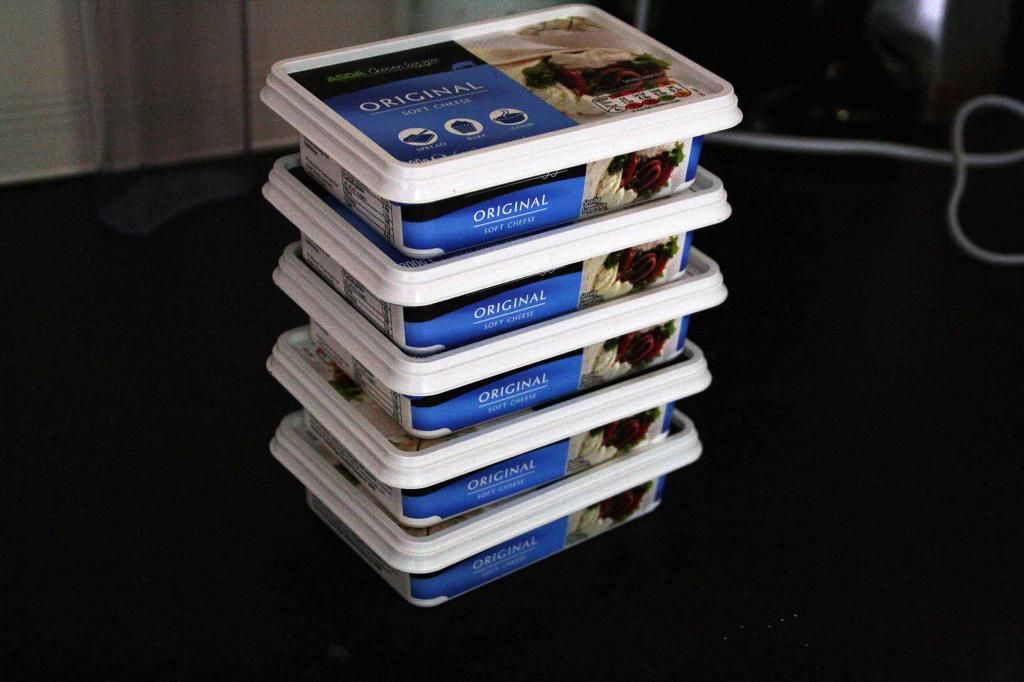

Now we're gonna get started on the main event. Look at all that cheeeeeeeese....
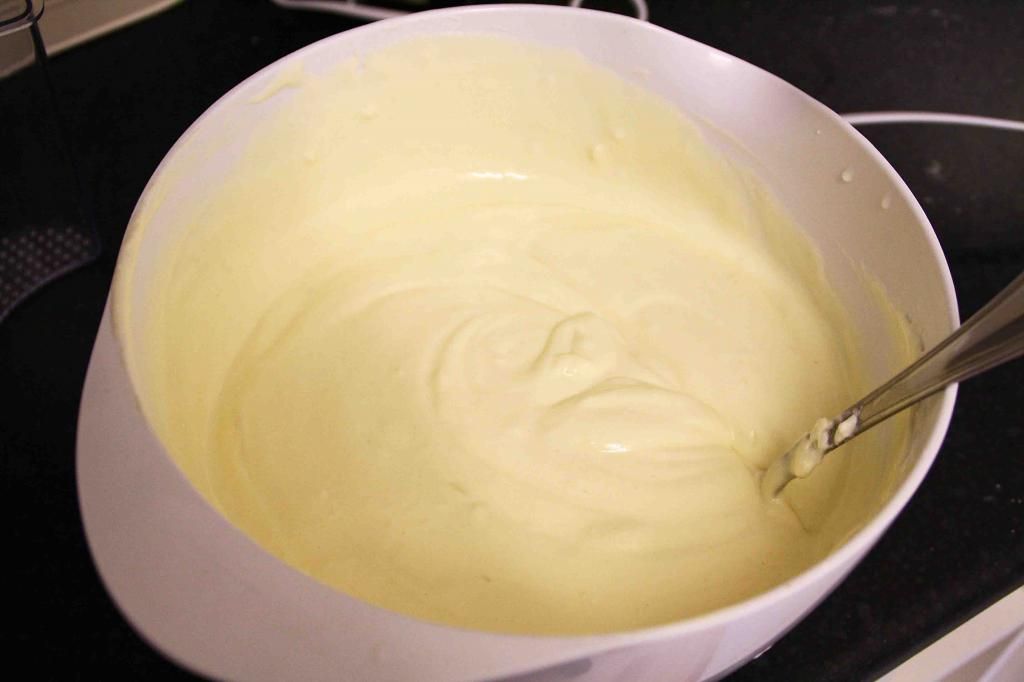

Get a big bowl and whisk the soft cheese until it becomes smooth. Add the sugar and whisk some more. Finally, add the flour, vanilla, eggs and sour cream and whisk again until you're left with a smooth mixture like the one in the picture above.
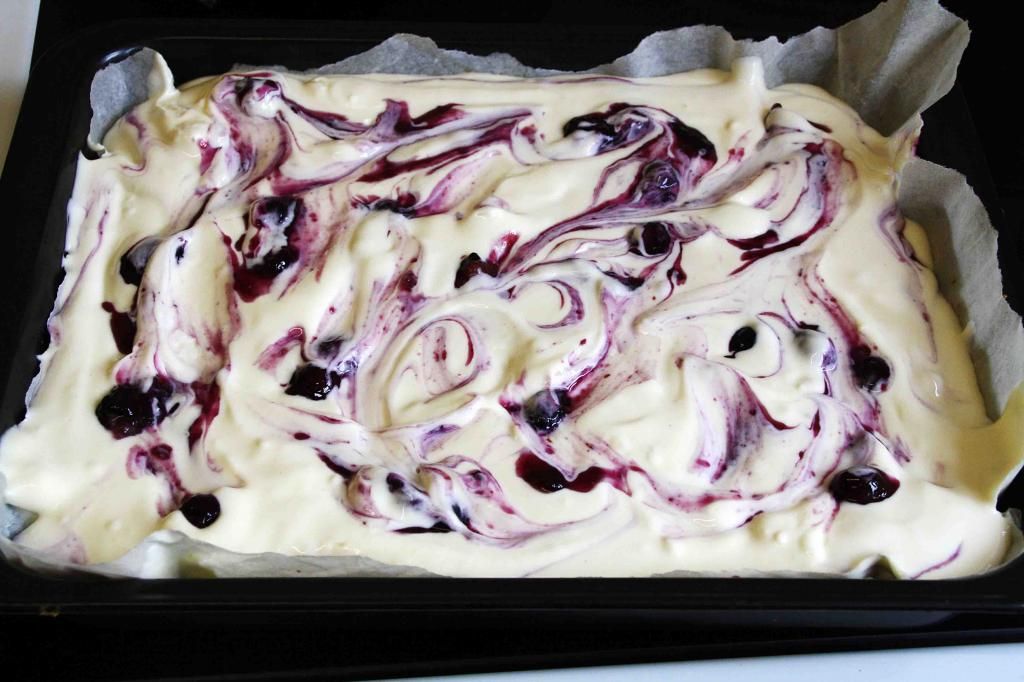

Pour half the cheesecake mixture over the biscuit base, then dot half of the blueberry sauce all over. Top with the remaining mixture and then add some more blobs of blueberry sauce. Use the tip of a spoon or a knife to create little swirly patterns. Then get this baby in the oven and bake for 10 minutes at fan 180C/ conventional 200C/ gas 6. After that, turn the heat down to fan 90C/ conventional 110C/ gas 1/4 and bake for another 30 minutes. Then turn off the oven and leave the cake to rest in the warm oven for an hour. Lift it out and wait until it's cool enough to put in the fridge, where it should be left for at least 3 hours or ideally overnight - if you can wait that long!
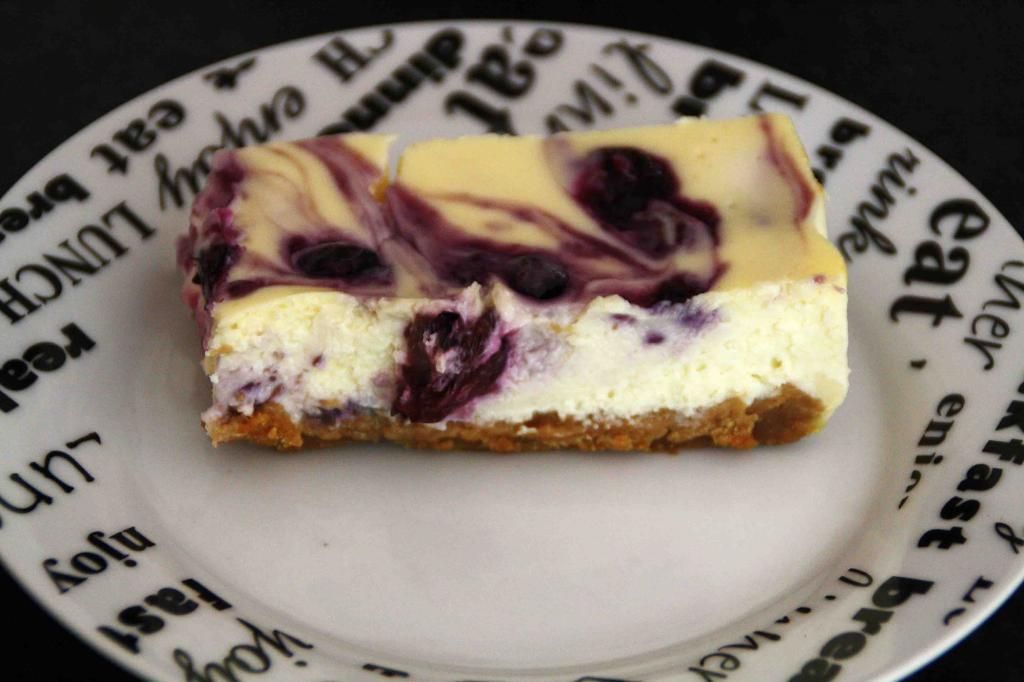

Slice into bars and serve! Enjoy the ooey, gooey creamy deliciousness. Granted, this might not be the healthiest of recipes, but this stuff is seriously worth it. And what would life be without a little naughtiness from time to time, eh?

Let me know in the comments below if you decide to give this recipe a go!

Sunday, 20 April 2014

Recipe: Creamy, healthy spring greens soup

Happy Easter, everyone! It's Sunday and that means it's time for another lifestyle related post. This time I thought I'd share with you a recipe for a tasty green soup which is healthy, filling, easy to make and delicious! I got the original recipe from Popsugar Fitness, but I adapted it a little bit to suit my tastes and needs and I'm very pleased with the result and will definitely be making it again.
(NB: A saucepan may or may not have been accidentally set on fire during the creation of this post. I guess I'll never be one of those swanky, sophisticated food bloggers, oops!)

For two portions you will need:

  • Half an onion
  • Half a small, green chilli (I used birdseye)
  • A drop of olive oil
  • About 5-6 leaves of chard or spring greens
  • A good handful of spinach
  • 500ml vegetable stock
  • 1 tsp smooth peanut butter
  • 1 tbsp low fat cream cheese


Start by finely dicing the onion and the green chilli. Remove the pith and the seeds from the chilli if you don't want too much heat, or use a whole chilli if you want it a little hotter!


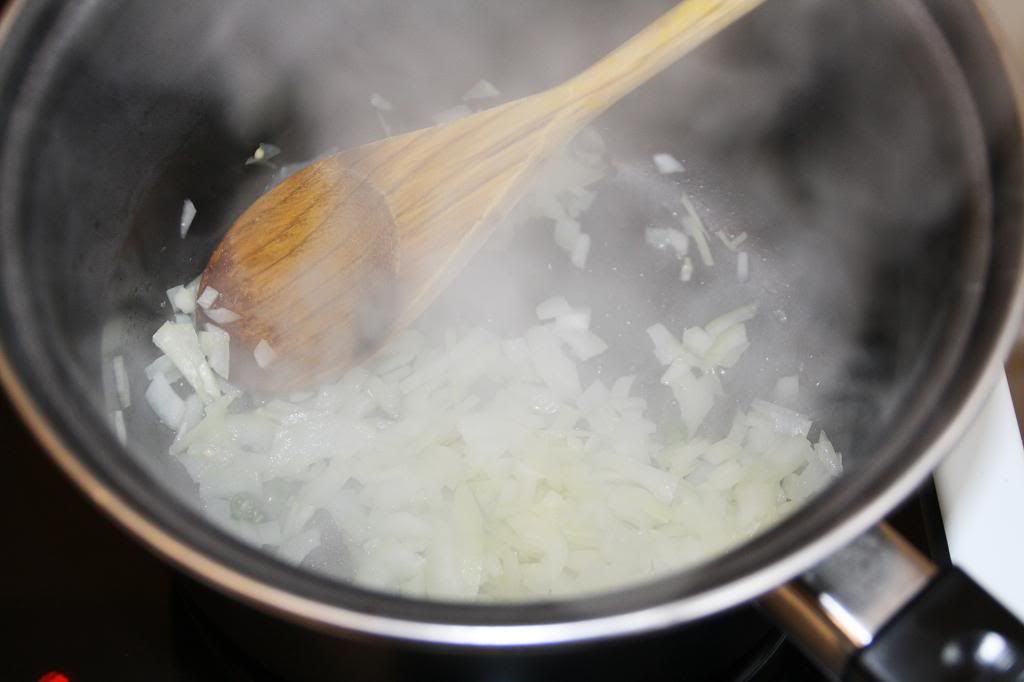
Saute the chilli and onion in the olive oil in a saucepan over high heat until the onion becomes translucent. Keep stirring to prevent it from sticking.


In the meantime, start chopping your chard or spring greens, depending on which you're using. You want to separate the crunchy white stems from the leafy green bits. Add the white bits to the pan with the onion and the chilli and saute for another 3-5 minutes.


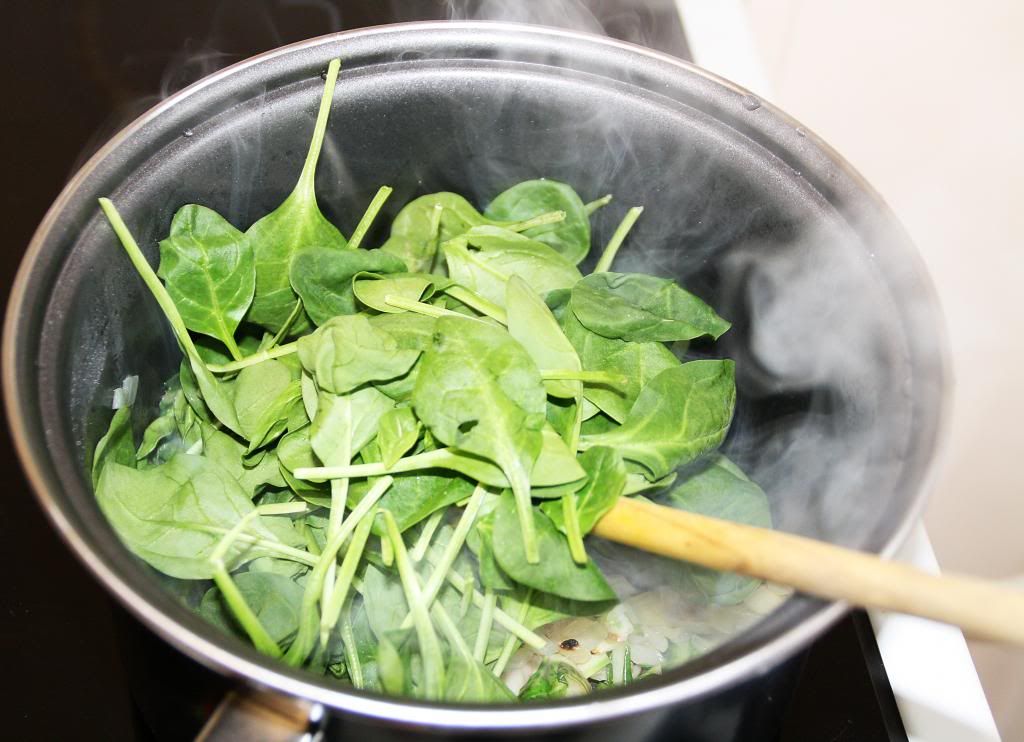
Add the green bits to the pan along with the spinach. Heat, while stirring until all the spinach has wilted, then turn the heat down to medium.


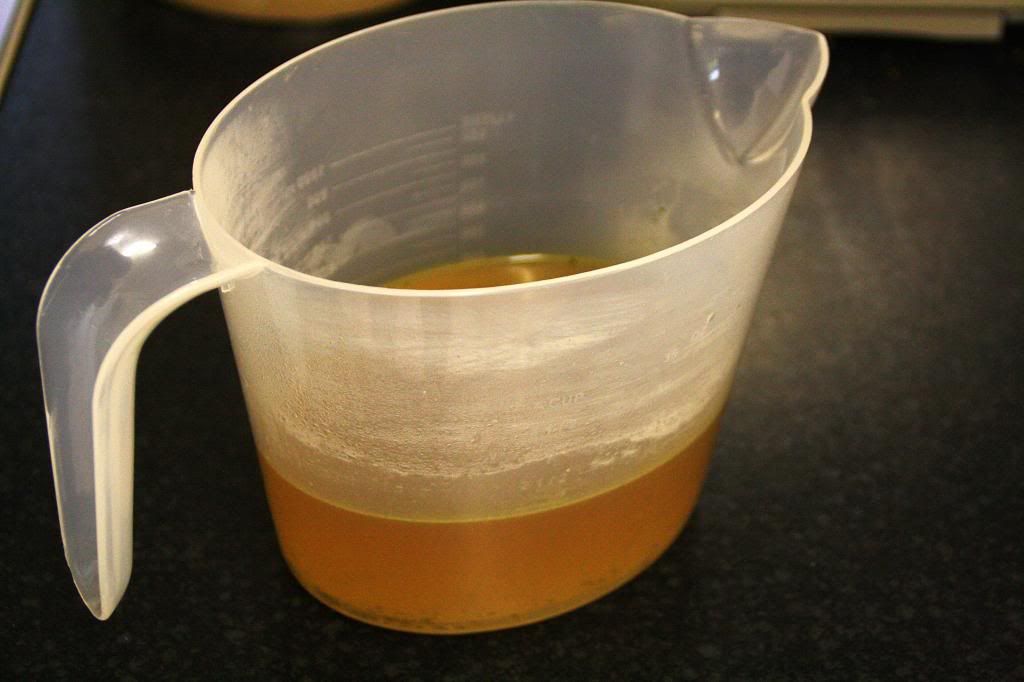
Add the vegetable stock to the pan, cover and let it simmer for about 5-10 minutes.


Turn the heat down to low and add the cream cheese and peanut butter. Stir well to dissolve any lumps.


Transfer about half of the soup into a blender and whizz until smooth. Alternatively, if you have a hand blender you can just puree it right there and then in the saucepan.


Return to the pan and turn the heat up one last time until the soup starts bubbling away. Adjust seasoning if you need to, though I find that the peanut butter, veg stock and cream cheese make it salty enough, while you get a little heat from the chilli.


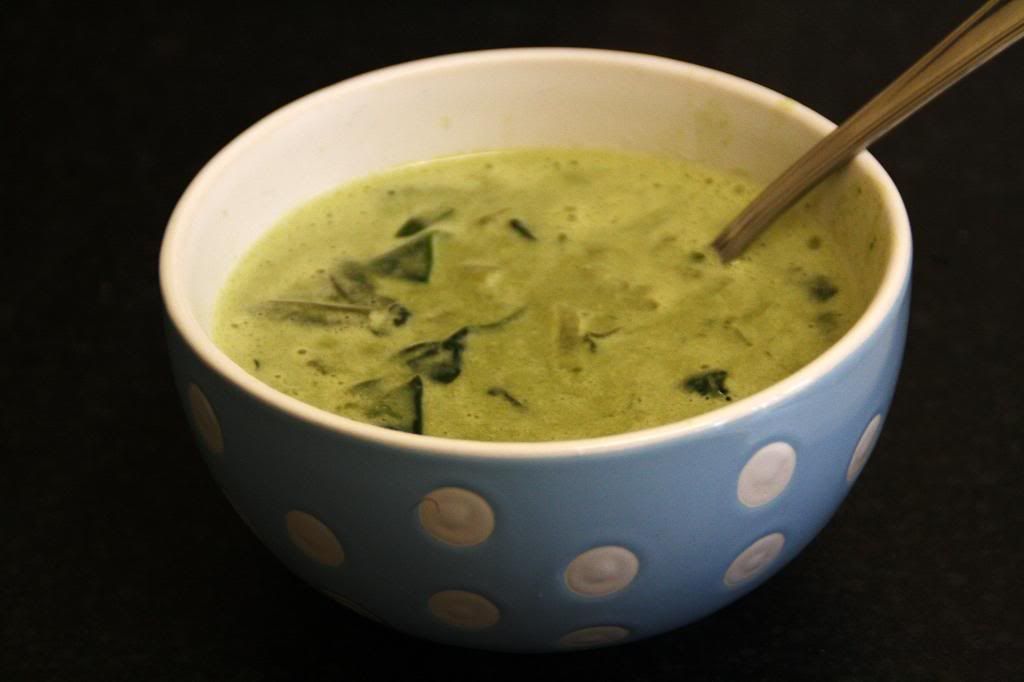
And tuck in! Serve with some bread if you're really hungry or just slurp on its own. It tastes rich, indulgent and creamy and definitely not like a healthy recipe.
I wasn't too sure about the peanut butter at first, but it turns out that it goes beautifully with the green vegetables adding an almost meaty taste to a vegetarian dish.

Let me know in the comments below if you decide to give this recipe a go!