Friday, 10 January 2014

Review: Sigma Essential Kit


When I originally bought this set of make-up brushes - before the likes of Real Techniques and other high quality drugstore brushes - there were essentially two options for anyone looking for good quality brushes: MAC and Sigma. While not outrageously expensive, neither brands are exactly cheap, but if the quality is right, a set of make-up brushes will last years and years, so it's an investment that is worth making.

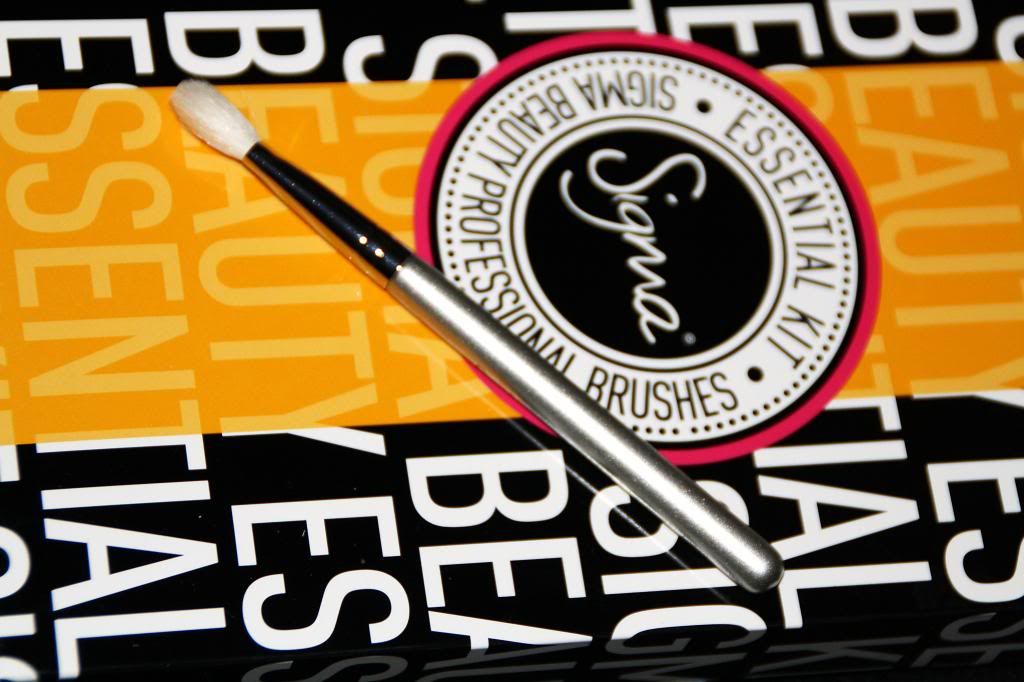
The issue I've always found with Sigma is that they have quite a wide affiliate programme for bloggers. While that's great news for beauty bloggers, it also means that finding balanced reviews of Sigma products can prove a tad difficult. Nevertheless I took the plunge and ordered myself this Essential Kit, which contains 12 brushes for both face and eyes and came with a little extra travel brush as shown above.

In this review I'll talk you through each and every one of these brushes and tell you about my thoughts and experiences. All the pictures you can see (apart from the one above) show the brushes after more than a year and a half of frequent use, so that you can see how they cope with being used and washed all the time. Unfortunately I can't show you all of the brushes, as there has been an incident several weeks ago where two very naughty puppies were left unattended in my bedroom for a few minutes and a few of my brushes didn't survive the encounter.... But let's get stuck in.

E05 - Eye Liner Brush
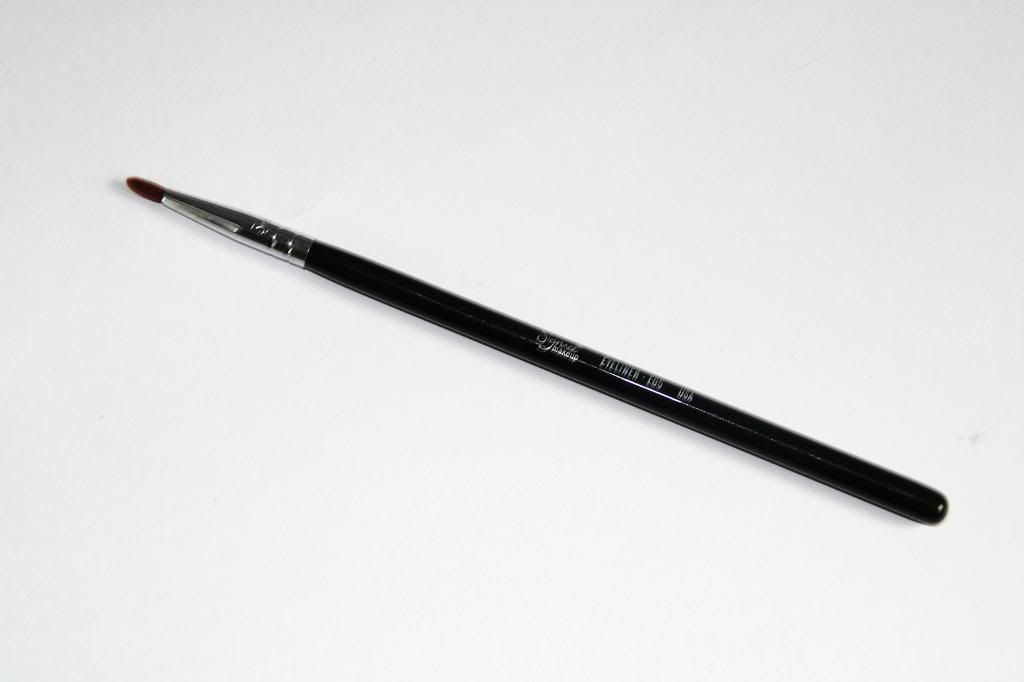
This brush is designed for use with gel or liquid liners. While it's nice and densely packed, I find that the bristles are a tad too long and soft, which can make for slightly wobbly application. It works fine with coloured or not too heavily pigmented liners where you don't need an overly crisp line, but for black liners I much prefer the angled brush (E70 below).


E25 - Blending

This one doesn't actually come in the Essential Kit, but I got it for free as a gift with purchase, so I thought it would be nice to include it in this post. It's actually a great brush and can be used for packing on eye shadow as well as blending it out. The shape really hugs the eye lid and the bristles have kept their shape exceptionally well considering their softness.


E30 - Pencil
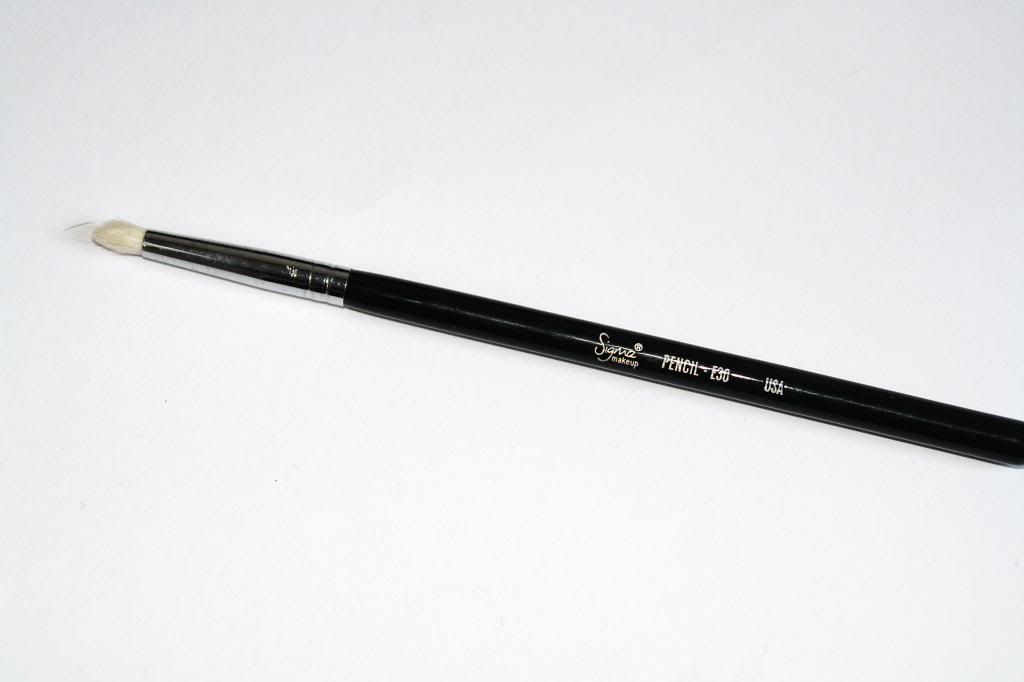
This is a brush I love dearly. The thin, tapered shape makes it perfect for applying a thin line of eyeshadow close to the lower lash line. It's firm enough for precise application, but nowhere near as scratchy as similar brushes I've used from other brands. Despite the fact that I've been using it quite a lot, it's still held its shape very well.


E40 - Tapered Blending
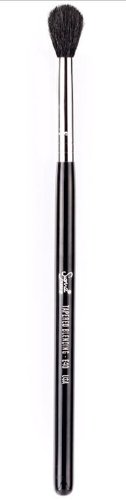
This is the first naughty puppy victim, so apologies for the stock photo. It's basically the same as a MAC 224 brush, only a tad wider and significantly softer. I've tried using it for concealer and found that it absorbs way too much product. For eye shadow application it's also not particularly great, as it's so soft that it gets the eye shadow literally everywhere. Where it does shine, however, is in blending out any harsh lines or removing product if you've gone a little overboard.


E55 - Eye Shading
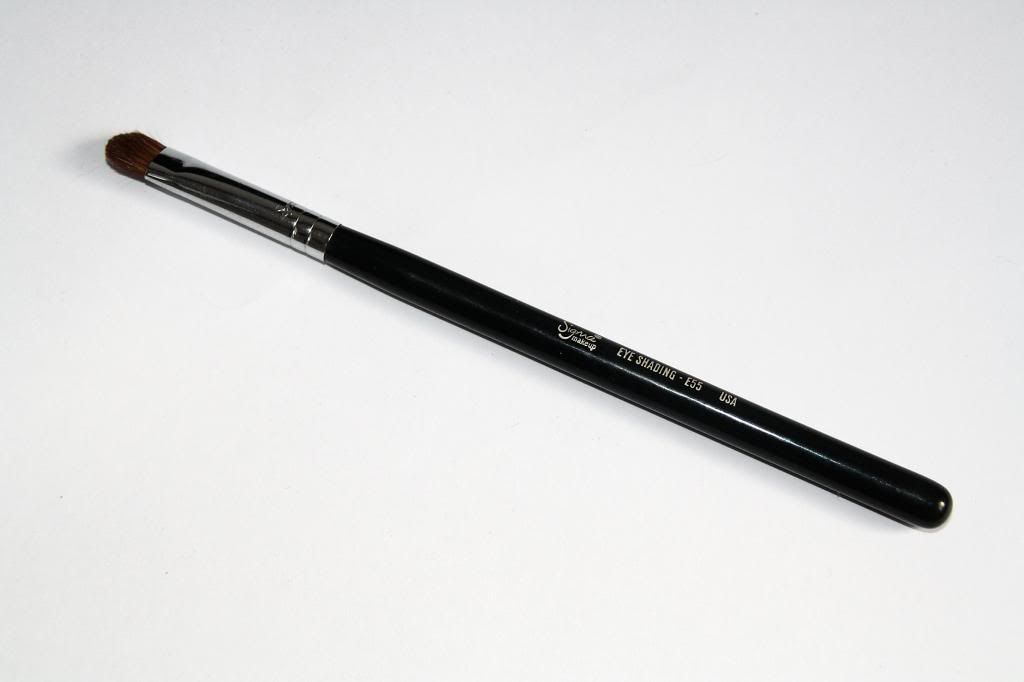
This is one of my favourites from the set. The dense, soft bristles are absolutely perfect for just packing on eye shadows when you're looking for a strong look. Just use a tapered brush over it to blend out the edges and you're good to go! I found that even loose pigments can be applied relatively mess free with this one. The shape has also stayed virtually unchanged since the day I first got it.


E60 - Large Shader
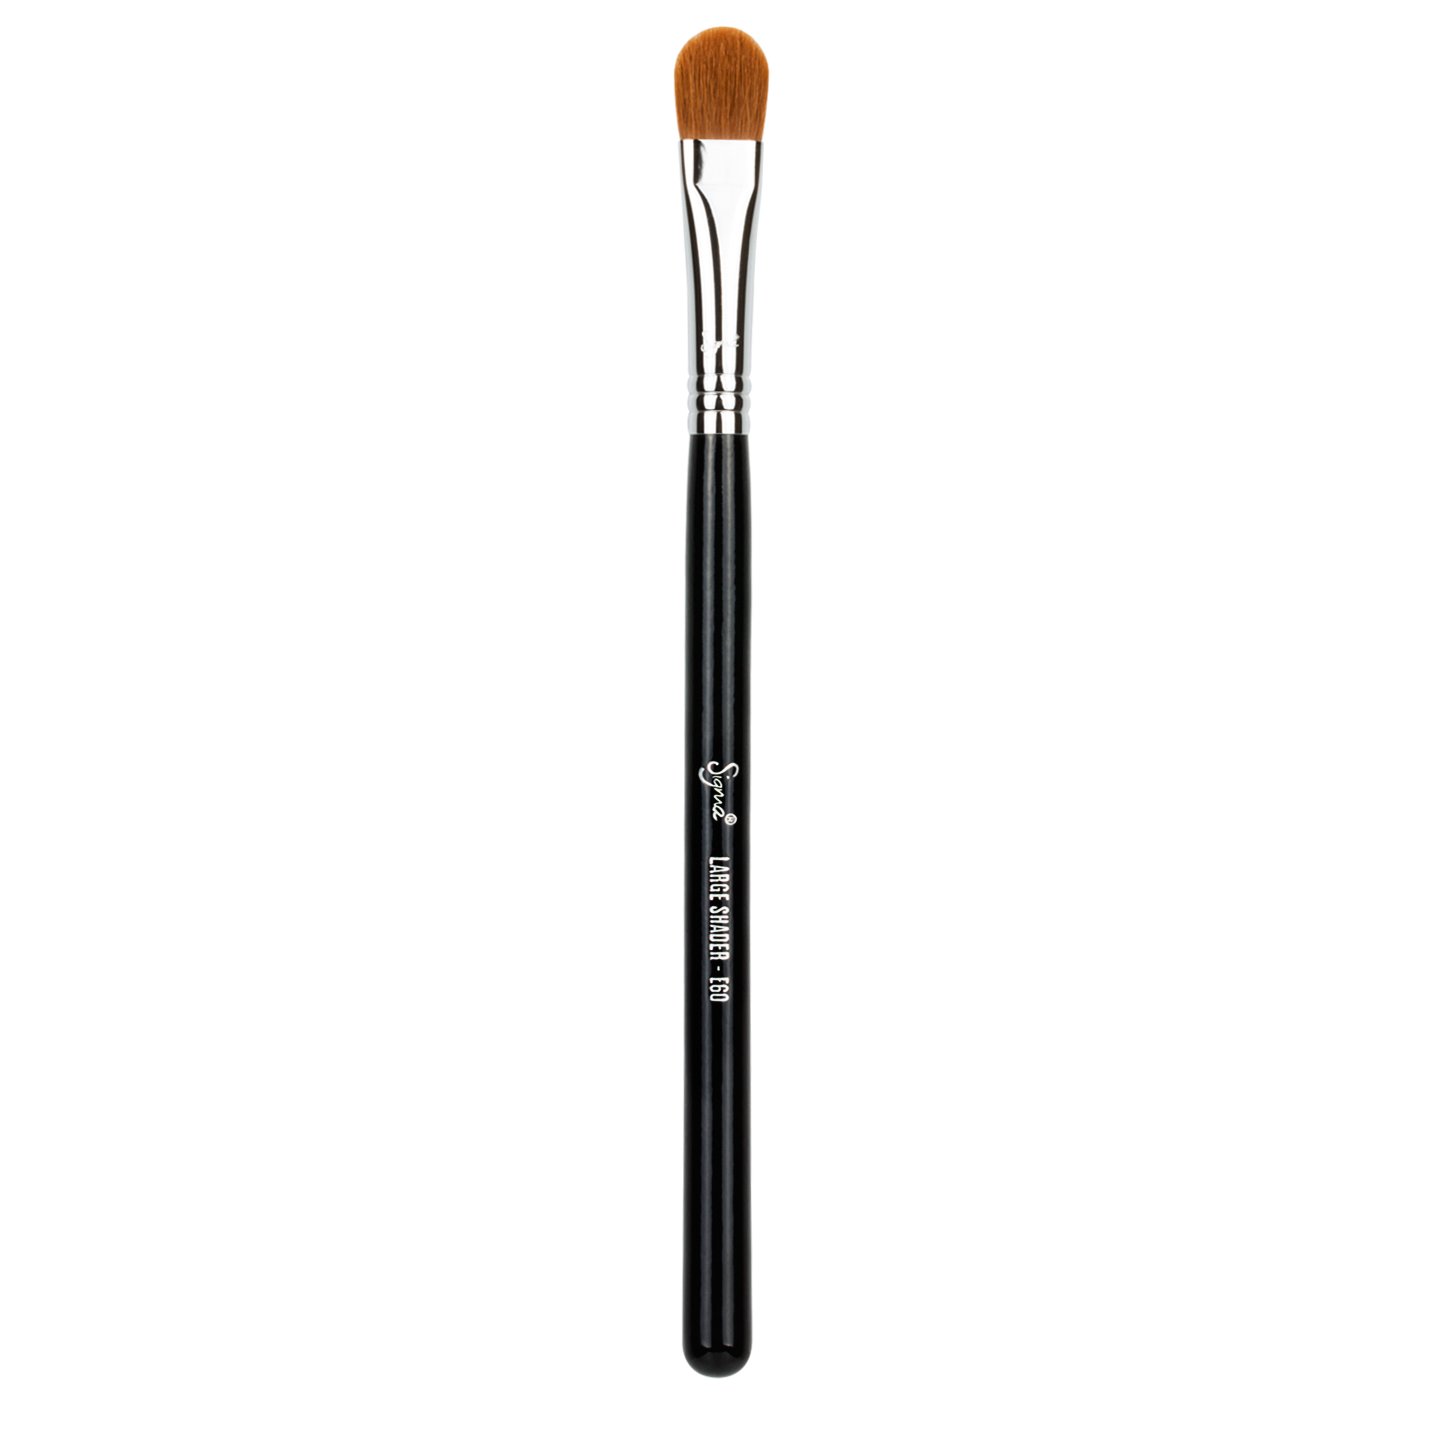
Another brush that now sadly lives in the graveyard of brushes. Admittedly, this isn't one I really miss. It's a little denser and more stiff than the E55 brushes discussed above and because it's also a lot bigger I find that it creates edges that are just a bit too harsh. It might be more useful to anyone who prefers really light eye shadow colours and wants to be done with their make-up in just one swipe.


E65 - Small Angle

I consider this brush a must have in every woman's make-up collection. The edge of the brush is as thin as a feather, allowing for ultra precise application of gel liner or eye brow powder. Despite the dense, thin bristles, it hasn't gone scratchy at any stage like so many of my other angled brushes. Multi-functional and long lasting - what's not to love?


E70 - Medium Angled Shading
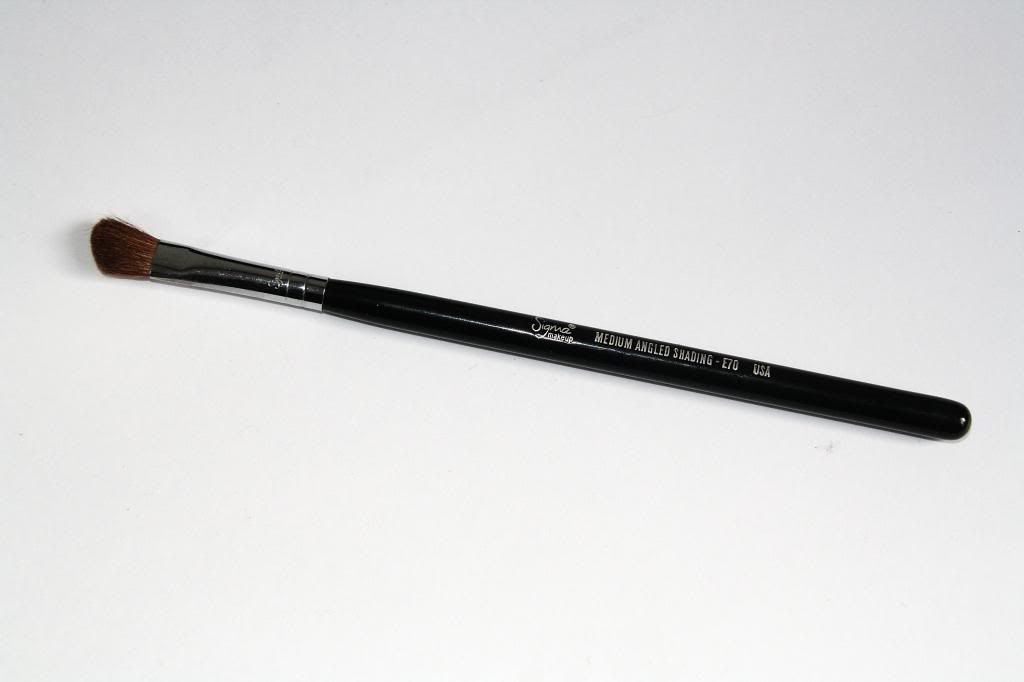
This is sort of like an E55 but with in-built blending function. It does a really great job at hugging the socket of your eye and naturally creating a great shape for your eye shadow. For darker or more heavily pigmented shadows you'll still need to go over with a separate blending brush, however.


F30 - Large Powder
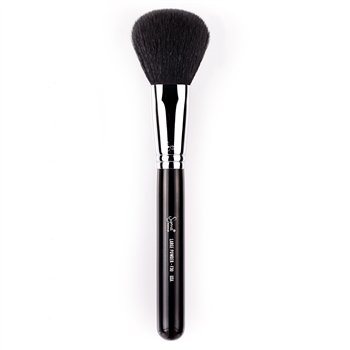
Losing this brush hurts. It really, really hurts. It's quite easily the best powder brush I've ever come across. It picks up the perfect amount of product each and every time, remained soft ever since I got it despite virtually daily use and didn't show a single sign of splaying. Due to its tapered shape it's perfect for applying bronzer under the cheekbones for a chiselled contour. I really need to replace this one as soon as possible.


F40 - Large Angled Contour
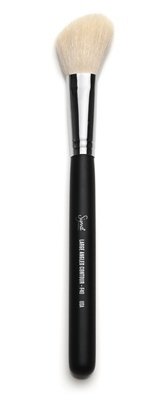
Another great multi-purpose brush which can be used wide enough for blush or bronzer, or small enough for a light wash of highlighter. When I first got this one I went a little crazy for it and used it almost daily with a powder highlighter. As a result it's shown quite a lot of splaying after a few months and I stuck to using it with bronzer or contour since until I eventually gave up on it altogether.


F50 - Duo Fibre
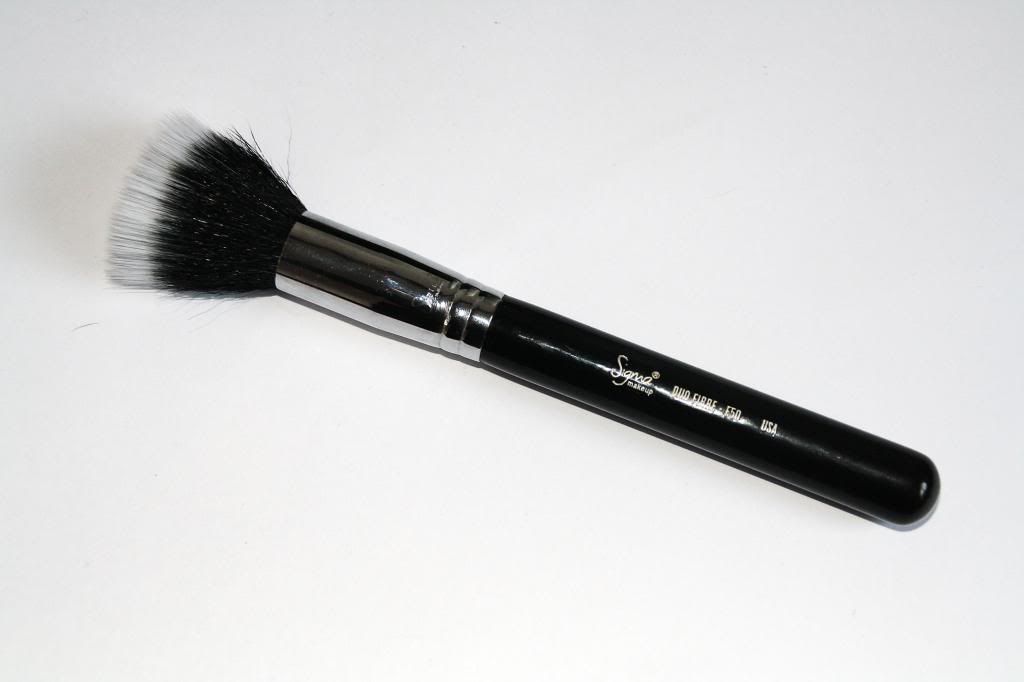
I love this brush for cream blusher, as the bristles are just so soft, yet dense enough to pick up a nice amount of product. My love for it has resulted in quite a bit of splaying as you can see in the picture above, but it still works absolutely fine and is just as soft as it was when I got it. I wouldn't really recommend it for foundation, as it's not quite dense enough for that, but for blusher or cream contour it's absolutely perfect.


F60 - Foundation

This is probably my least used brush out of all of them. As a general rule I find these types of foundation brushes a bit streaky and this one is no exception. I much prefer the natural finish that you get by applying foundation with your hands and only use this if my skin is behaving so badly that I really need to pack on the make-up.


F70 - Concealer
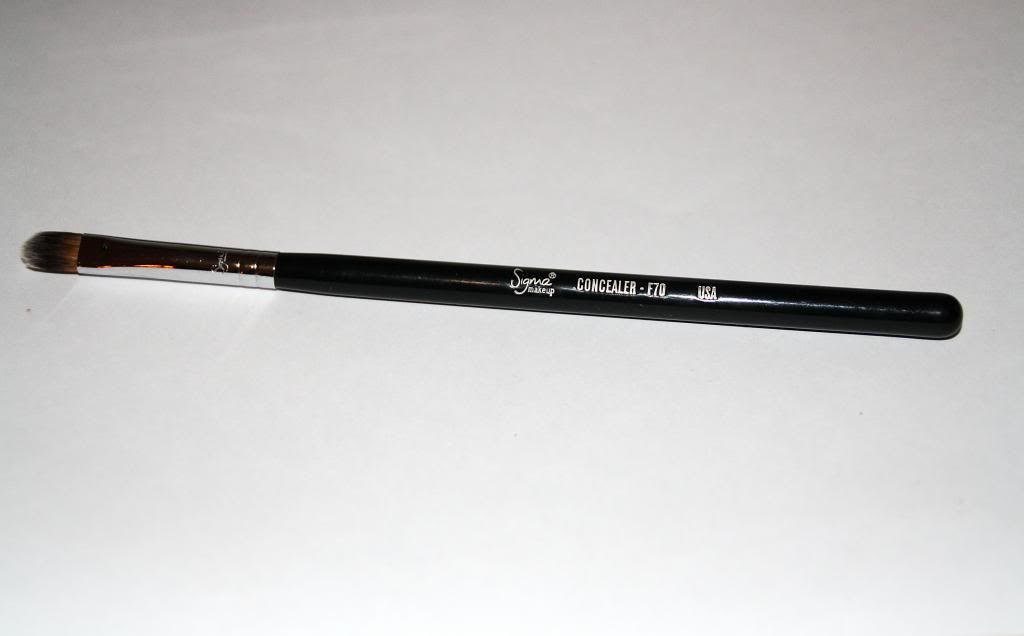
I'm a bit in two minds about this one. How well it performs really depends on the type of concealer you use it with. It tends to be no good with thin and light formulas, as the thick, dense bristles absorb so much product you'd need to use half a tube just to have any of it remain on your face. The brush does work really well with thick and pasty concealers, however, which would otherwise be too hard to apply with just fingers. It's only because I rarely ever buy thick concealers that I haven't found much use for this particular brush.


Now, to sum up this essay of a post, I'd say that I'm pretty impressed with Sigma brushes. They feel sturdy and well made and I love that the handles are a tiny bit weighted, which makes them sit in the hand a lot nicer. In comparison to my MAC brushes the bristles are a lot softer, but still just as precise at picking up the product. I'd actually choose Sigma over MAC any time.

The only downside is that Sigma is not readily available in Europe and the UK. They do ship worldwide, but as your order will get shipped from America you need to be prepared to pay extra taxes before you get your parcel.

You can find the Essential Kit for $139 on the Sigma website here.

Tuesday, 7 January 2014

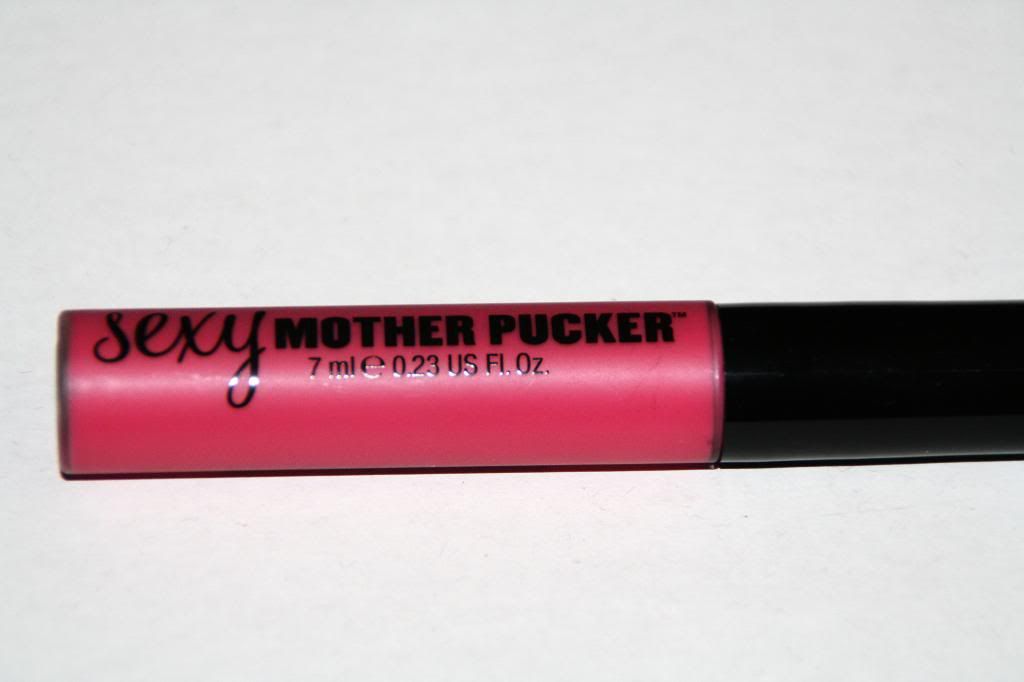
Review: Soap and Glory Sexy Mother Pucker Lip Gloss


Although I'm quite a big Soap and Glory fan, my foray into their make-up range has been limited to this lip gloss which came in a set and a mascara which came as a freebie in a magazine. You've got to hand it to them, though, that as far as product naming goes, Soap and Glory aren't exactly afraid to take risks!


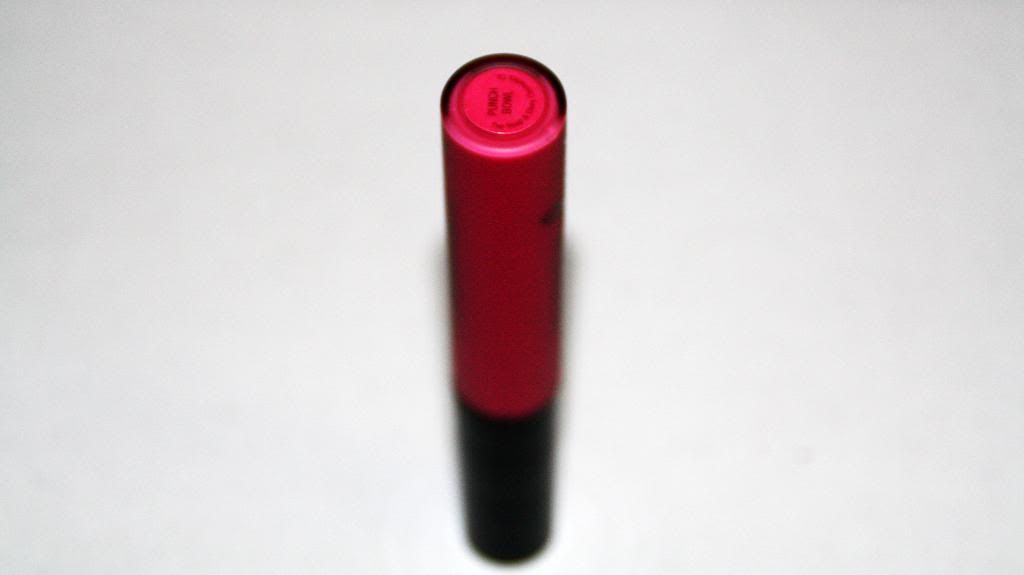
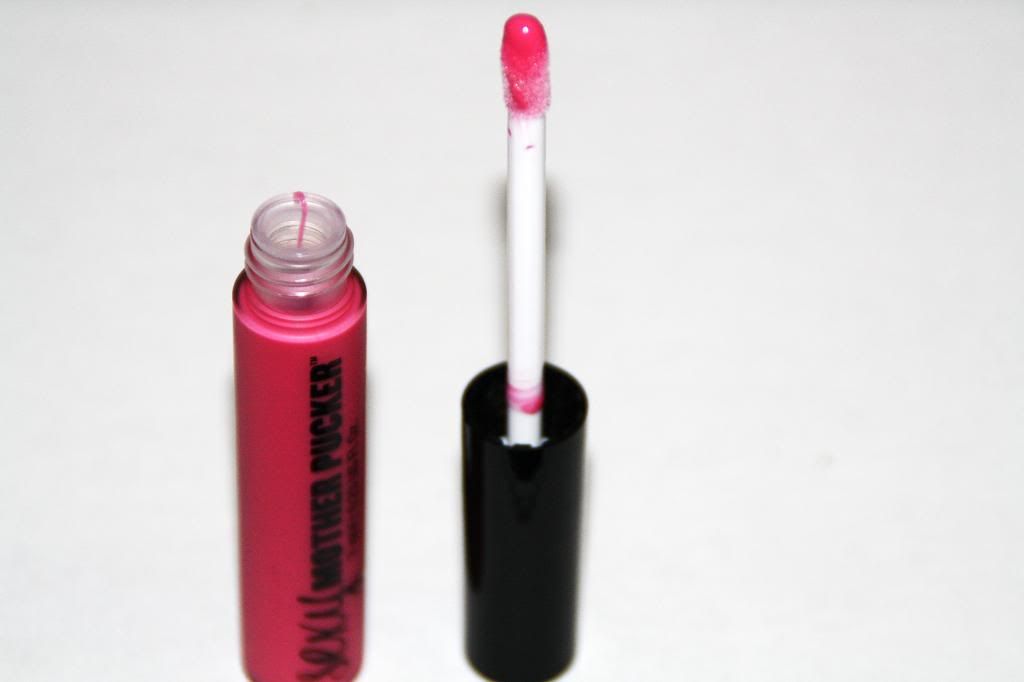
The shade I got here is "Punchbowl" - apologies for the slightly blurry photo above. Punchbowl is a bright magenta pink, but don't let the colour in the tube scare you, as it translates as a slightly sheerer, milkier colour onto the lips.


One thing I didn't know before I tried this, but that I realised VERY, VERY quickly upon application, is that this is a plumping gloss. Yes, one of those that make your lips tingle and sting as soon as they get in contact with your lips. I can't deny that there is a certain plumping effect to my lips. It feels like I'm naturally pushing them out a little more without even realising - just to get rid of that feeling that I'm being stung by nettles. The sensation lasts about 15-20 minutes after application and comes back (albeit a lot weaker) with each re-application.

Soap & Glory Sexy Mother Pucker Gloss in Punchbowl - swatch on hand

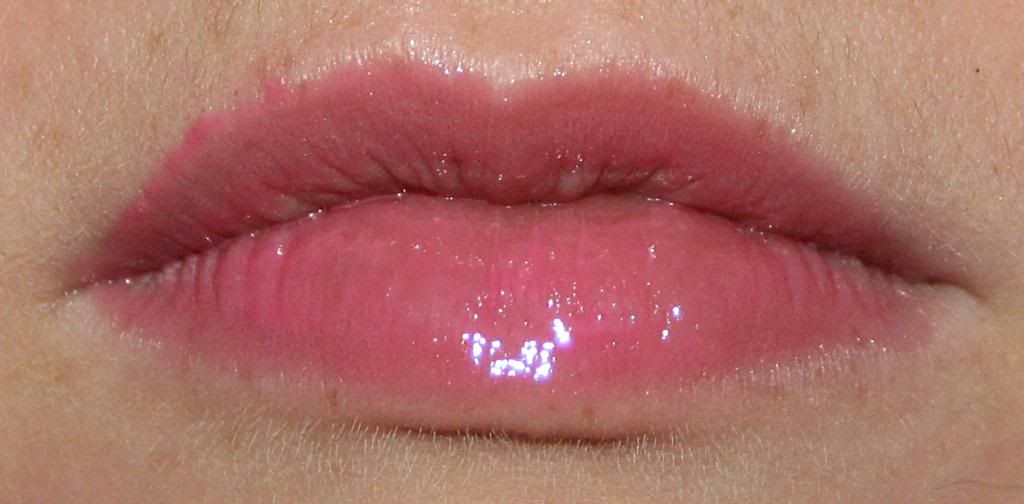
Soap & Glory Sexy Mother Pucker Gloss in Punchbowl - swatch on lips
The swatches above show quite clearly the milkiness that I mentioned earlier. Personally, I find that it adds to the colour and it also makes it a loss more wearable than a full on neon pink.

Stinging sensation aside, I actually really rate this gloss. It's easy to build colour to a desired level which is rare in glosses and it's not overly sticky either. Constant reapplication is unfortunately unavoidable as with every gloss.

If it wasn't for the plumping effect which I really don't like, now that the novelty factor has worn off, I'd be wearing this gloss pretty much all the time. If the stinging of plumping glosses doesn't bother you, then I'd definitely recommend you give this one a try!

A tube of Sexy Mother Pucker gloss costs £9 and you can find it here.

Monday, 6 January 2014

Sunday Catch-up #13

Current read // New calendar for 2014 // Token "detox" tea

Sparkly nails (Post here) // Margarita night! // Sneaky Primark purchases

Latest Abel & Cole fruit and veg // Weird mascara wand! // Playoffs snack!

Breakfast the next day


Welcome to my first Sunday catch-up post of 2014! I can't believe it's been almost half a year since I last did this kind of post. What a shame, seeing as I love these types of posts on other blogs.

This week saw me going back to work after my holiday break. While most people were glammed up on New Year's Eve getting very very drunk, I was actually at work. I don't mind so much, but I was pretty damn knackered the next day and spent the first three days of the year recovering and catching up on some much needed sleep.
My New Year's resolution to get more organised is going pretty well and it's made such a huge difference on my life already, that I hope I can continue throughout all of this year. I've finished several tasks that I've been dreading and putting off or (purposely) forgetting about and now it's like a huge weight has been lifted off my shoulders.
As for the healthy eating, you can see from the pictures above that it didn't go quite so well. We were out for a quick little shop on Thursday and fancied some Mexican, so went to Chimichangas and had lots of greasy food and margaritas and then continued with shots of Jaeger and Pornstar Martinis at home. Whoops. And then yesterday it was the first day of the NFL playoffs (American football is the only sport that can hold my attention for more than 5 minutes at a time), so Joe convinced me to celebrate it with hot dogs, buffalo wings and Doritos. Lots of Doritos. Didn't really take that much convincing, either. At least I've been eating lots of fresh fruit and veg as well thanks to my beloved Abel & Cole deliveries, but it's definitely an area that needs a touch more work.

How's your week been?

If you want to follow me on Instagram, you can do so here.

Saturday, 4 January 2014

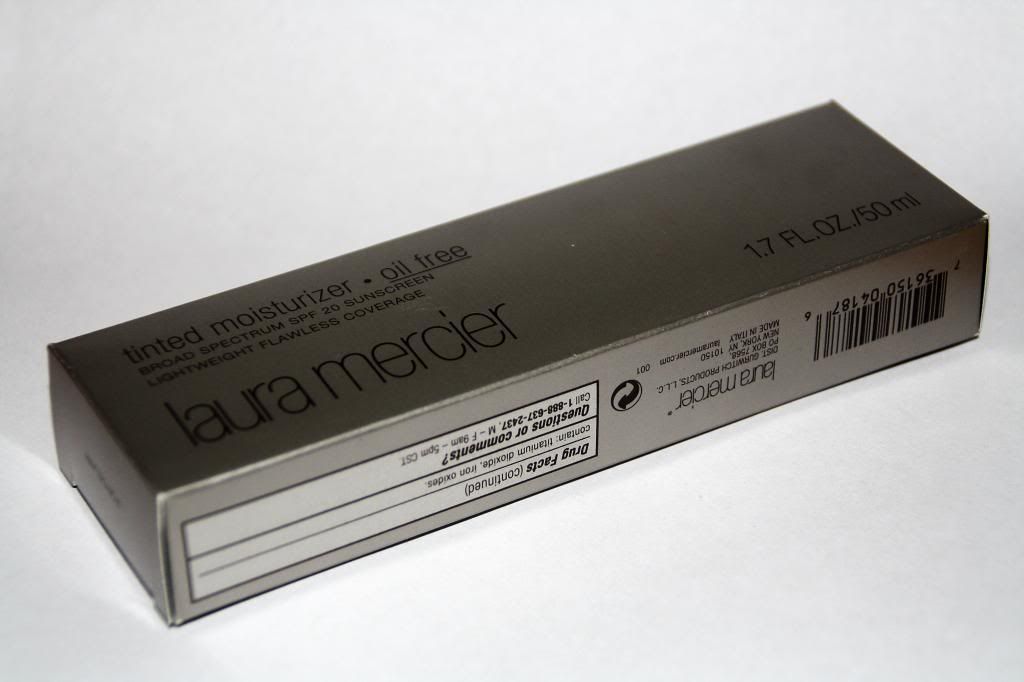
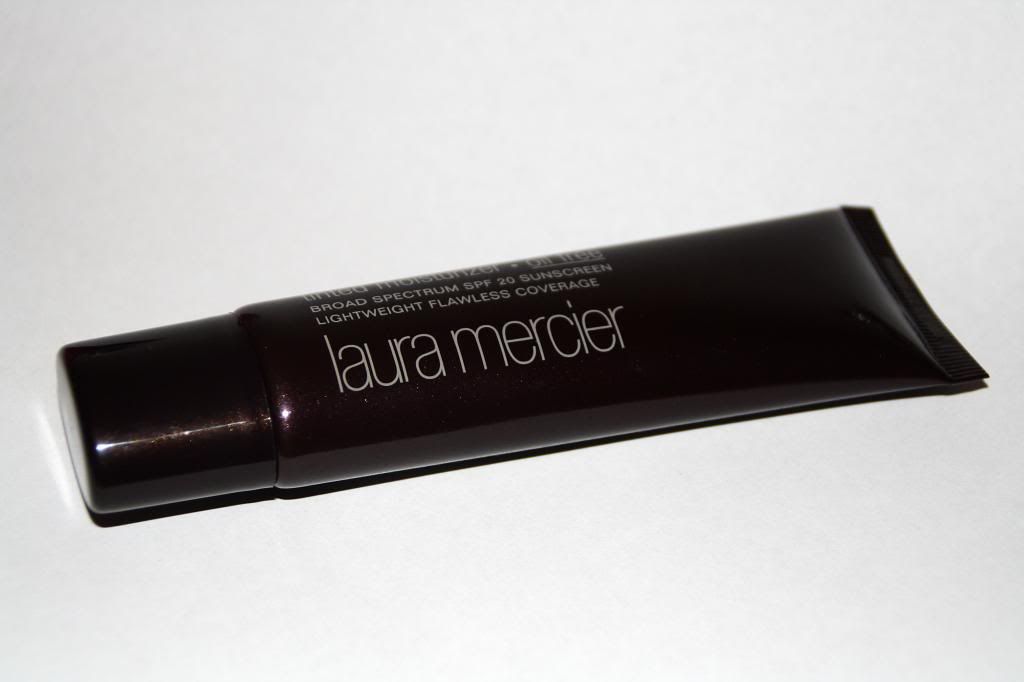
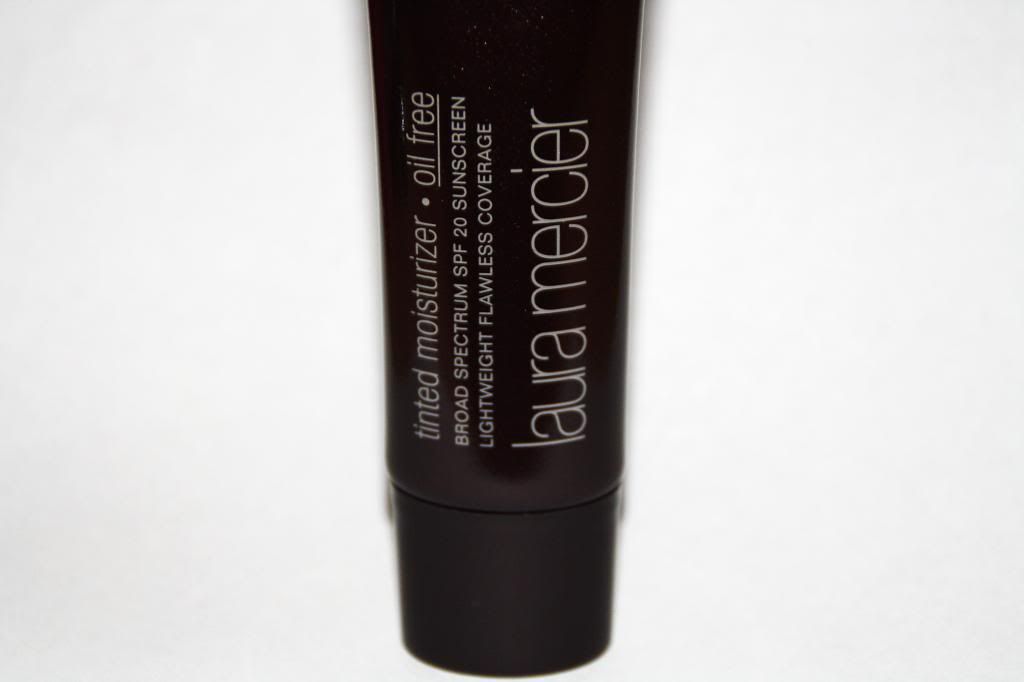
Review: Laura Mercier Oil Free Tinted Moisturizer


When it comes to foundation and base products I can be very picky. I don't normally own more than two foundations at the same time (an everyday one and an "off-duty" one), but the ones I do own I always use up till the last drop. I like to make sure they're amazing quality and don't mind paying a little extra for a make-up product I'll be using pretty much every day, no matter what look I'm going for.


After reading plenty of rave reviews about this one in particular, it was only a matter of time till I caved and made my way to Selfridges to get myself a tube off the Laura Mercier counter. Not only is this my first foray into Laura Mercier beauty products, it's also my first ever tinted moisturiser (BB creams don't count), so I opted for the oil free version, as that gives a little more coverage and was more akin to the light, airy foundations I normally use.


I was matched to the shade "Porcelain", unsurprisingly the lightest of all shades. I'd say it's actually a touch too pale for me, but once blended in, it matches quite well. Either way I prefer my foundation to be a bit lighter rather than too dark. It's easy to warm up your complexion with a touch of bronzer and the right blush, while a base that's too dark is hard to put right.


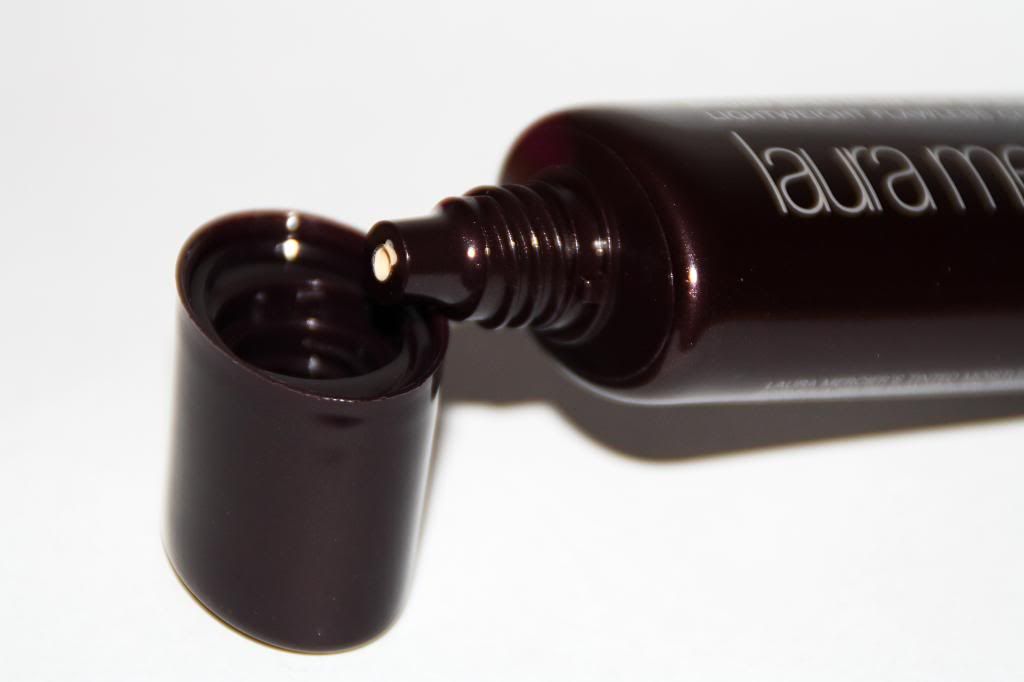
For those who just want to know whether or not this product is worth the hype: Well, yes, I can definitely see why everyone loves it. It actually comes out quite thick, but once it's on the skin it feels feather light. No sweaty face underneath a crusty mask of foundation.


The coverage is quite light, but don't let that put you off if you don't have perfect skin (because trust me, I don't either!). It's like it's got some sort of magic ability to detect all redness, pigmentation or imperfections in your skin and tone them down significantly, while letting your natural skin shine through where it looks good. Not entirely sure how that works... but it works!


Now, even though it says "Tinted Moisturizer", I always apply a separate moisturiser underneath and use this in place of a foundation. Even on my normal/combination skin I feel like it wouldn't quite be nourishing enough on its own. If, however, your skin is particularly oily or you're in a pinch, skipping moisturiser underneath should be just fine.


In the swatch picture above you can see it just as it comes out of the tube on the left, and then blended in on the right. You can clearly see the kind of luminous sheen it gives to the skin, though I find that the effect is a lot less prominent on the face - probably because you wouldn't use anywhere near as much product as I've done in the photo!

At £33 a tube I don't think I'll be repurchasing right away. Yes, I do love this product and it's lasted me about 4 months which isn't too bad, but I'm quite keen on trying some high street foundations and see if they can keep up with my beloved high end formulas. I'd also say that if I'm going to shell out that much money, then my all-time favourite, Chanel's Vitalumiere Aqua is still a touch better than this, as it offers smoother coverage, but I would highly recommend this to anyone who's looking for a natural and "lit-from-within" finish.

Friday, 3 January 2014

NOTD: Sparkly Winter Nails


The reason you've never seen any nail art posts on my blog is not because I don't like nail art or out of laziness - it's because I'm probably the person with the least steady hands you've ever come across. When I apply eye liner I basically make a quick sweeping motion with my hand and pray for the best. But yesterday I just had that urge to do something a little different to my nails, even though "nail art" may be a bit of an optimistic term, hahaha...


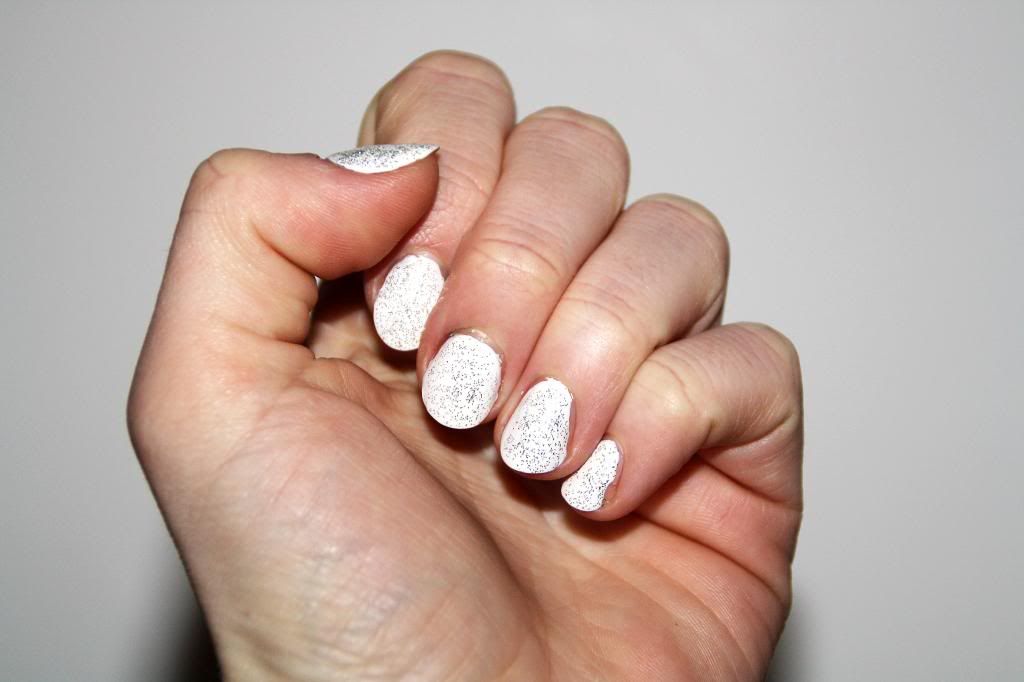
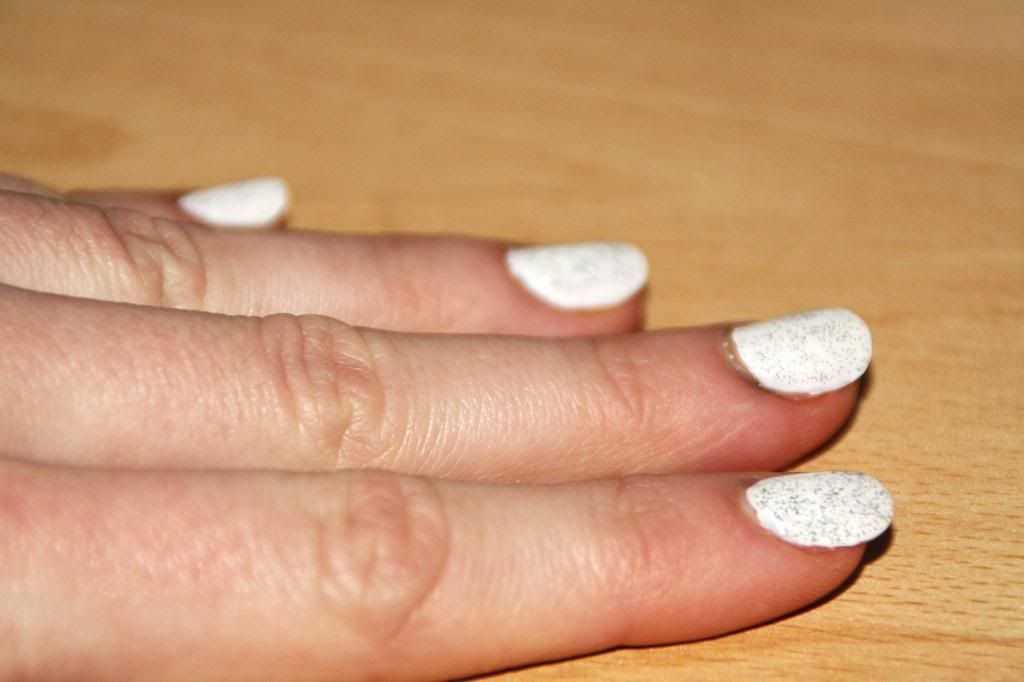
Just because it's January doesn't mean you can't carry through the sparkly theme from Christmas and New Year's Eve. These nails remind me of a soft blanket of fresh snow. Even if the chances of getting that down here in London are pretty slim, at least I can dream about it whenever I look at my sparkly finger tips!


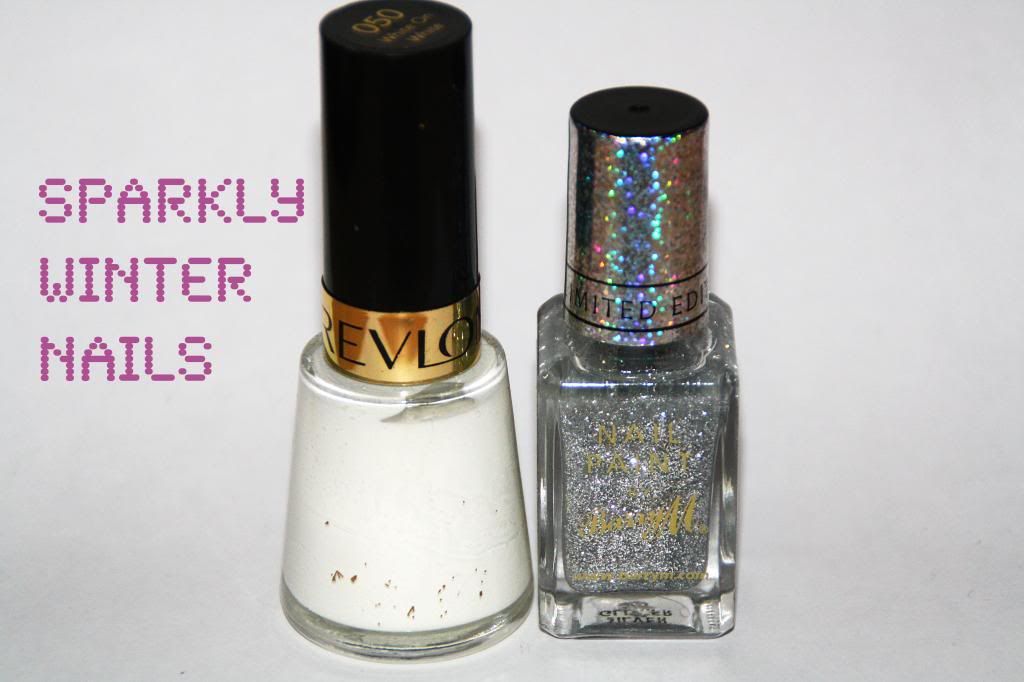
I used two coats of Revlon's "White on White", which I've had for quite a long time as you can see by the state of the bottle! I find that it applies to a really lovely, milky white that is perfectly opaque without looking like Tipp-Ex nails. Over the top I added one coat of a sparkly silver Barry M polish which is sadly a LE shade from about a year ago. You can however find a similar shade here.